


 |
| This one was my most favourite piece from the shoot for many reasons. I found it to be the most appealing style because it looks as though the leaves are part of Joshes face, and they are slowly falling from their branches. This could connote Joshes emotions as unhappy, which would also compliment his dim and lifeless facial expression. Many elements explain something in this image which is something that I find to be what mass a successful image. If a certain segment of a photograph can explain another segment of the photography, literally or metaphorically, then it is an important and effective picture. By making the sky in the tree picture white, and editing the background of Josh white as well meant that I was able to blend both photos effortlessly together without a certain colour of one pieces background interrupting. To improve this image I would have perhaps filled more of Joshes body with the tree so that it wasn't just his face in the frame, as it looks slightly compact and less spacious as it could appear with development. |
 |
| This is the second photograph that I created that I thought was again, successful. I took a depth picture in Brighton looking down a long wide street to a ferris wheel situated at the end of the road. I thought that this image effectively blended with my portrait of Darby as the colours in both of these pictures hold many similarities. Firstly, Darby has dark hair and dark eyebrows, which matches the dark windows and paint on the Brighton houses. Secondly, her face is a glowing beige which matches the light yellow house colours. Lastly, her top is a mixture of black and white which matches the dark cars with light reflections on them. The ferris wheel is then featured as an extra dimension to the sky. Having this in the frame means that there is less wasted space, as Darby's head is tilted to the left, which means there would be just white in the right side of the frame. Overall, this multiple exposure piece was an interesting one to create, as it took me a while to perfect the scale, however I was extremely pleased with the outcome and will most certainly be developing this idea in my future project. |


 |
| This is the first photograph that I took when experimenting with this new technique. I simply asked Connie to move to the left side of the frame whilst I had the shutter speed on two seconds. All I got from this setting was a faint duplicate of her next to her sharp, defined and clearer body shape. The faint duplicate has no light on her whatsoever; it blends in with the dark background and is filled with shadow. This contrasts with Connie's left body, the defined version. Here, there is more light situated on her because this is where the light is beaming. It has been positioned to shine down on her in this part of the studio which means that everything about her is more visible. By using slow sync, the audience are able to see the past and present in one image. Movement can be captured and seen more clearly that just shaking a camera as I used to do before in order to shoot the formal element movement. This technique is an upgrade from that, and by far the most successful type of technique. |
 |
| This is a picture that I took much later on in the shoot when I thought of a more interesting thing to capture for this technique. Because you have to shoot some form of movement in order to create slow sync photography, I thought of dancing. This led to me asking Connie and Frankie to perform a twirl. I was extremely pleased with what I produced from this shot because you can evidentaly see the movement of Connie's body as one of her is holding Frankie's hand whilst the other is spinning around. There are equal amounts of light on both of Connie's bodies in this frame, and likewise with Frankie's, as they are both dressed in light colours which allows the light to bounce off of them more effectively than if they were dressed in dark attire. The composition of this piece has been constructed well, except for a tiny part of the frame which I could have chopped off of the top perhaps. |
 |
| Here is a successful example of the technique multiple flash that I captured in today's lesson. I was extremely happy with this photograph for a mixture of reasons. Firstly, I liked that I managed to capture Connie spinning around in the frame. It is clear what she was trying to do, rather than have it be just a mess of movement. You can see her back in the left side, then her front, then a more clearer view of the front and then her back again. I composed the frame so that there would be no wasted space, and the proportions would be even e.g. there is about the same proportion of her back on each side of the frame. This displays a more even approach to the picture. There is no fade in the black backdrop, it is bold jet black which means that the photograph looks more professional and finished. The black background also means that Connie's frame is more evident, because if the black backdrop was faded then it would blend in with her green checkered shirt. |
 |
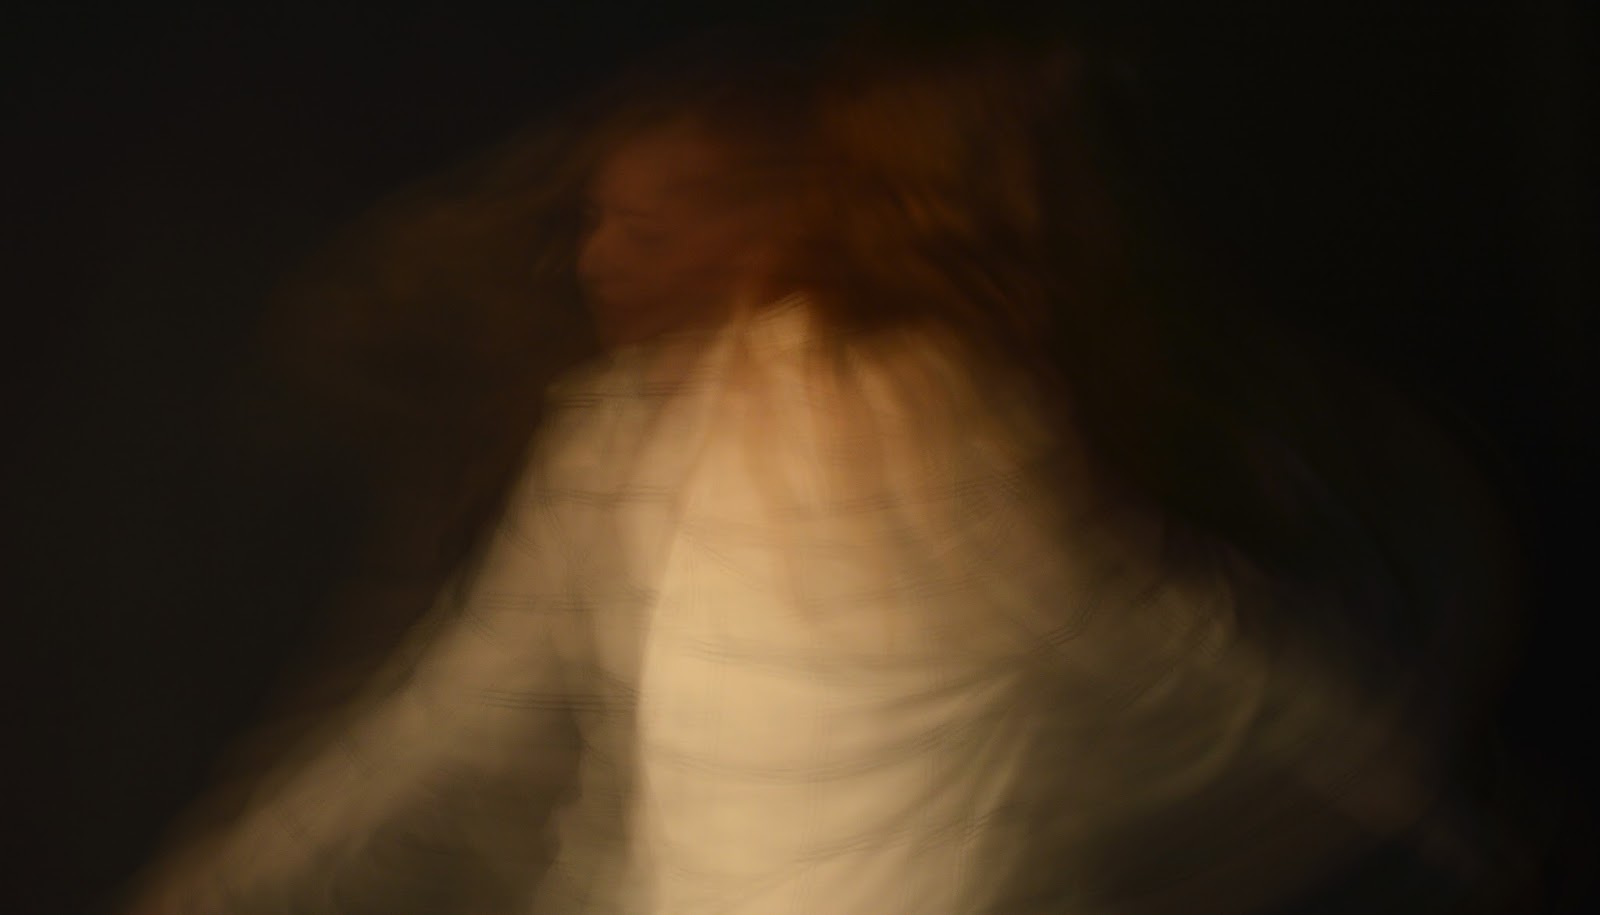
| Here is a not so successful overall photograph. I was really pleased with the subject of this shoot. I succeeded in photographing the movement of Connie flipping her hair in a circle motion around the frame, however the faded black background to the bottom right hand side of the frame spoils the overall composition. It would have looked a lot more successful and effective if she was in the centre surrounded by black, instead of having the left side black and he right side dusky. I feel that this takes the focus away from her in the middle, and it isn't as clear and sharp as I'd hoped it would be. I'm also not a fan of the blue tone that's spread over the whole picture. It doesn't look natural and is something that I struggled to edit in Photoshop without getting rid of all the colour. There also isn't many connotations that I can pull out from this piece as I was simply just testing out the technique, so the photograph doesn't have that much of an impact which is why I'm not impressed by it at all. |
In photography and cinematography, a multiple exposure is the superimposition of two or more exposures to create a single image, and double exposure has a corresponding meaning in respect of two images. The exposure values may or may not be identical to each other.
  |
| Trees and forest related features are always a very interesting picture to use in a multiple exposure piece. Because of the gaps in the branches, it makes the effect look a lot like the person is missing parts of them. The gaps allow for the piece to look a lot more broken up rather than thick and filled. If the man and woman's shape was filled with a block image, I don't think it would look as effective as having dispersed branches and leaves everywhere. I like the autumn colours in these images; consisting of yellow and burgundy and brown and green, which displays this formal element as being used successfully. The overall pieces are successful because they are simplistic. The model's have a blank expression on their faces, which could perhaps suggest the viewers are to just admire ad appreciate this photography technique rather than thinking too much about it. |
 |
| This is another multiple exposure piece of photography that includes leaves/bushes as the second image. This one has more of a deeper message behind it as the model's features are not evident in the face. All the viewer is able to see are leaves stemming out from the outline of the subject's profile. Therefore the formal element shape has been used effectively in this photo. The leaves also outline the subject's forehead and also their neck without the defined line; this conveys that this naturalistic picture of leaves and stems forms most of the person's face, perhaps suggesting that the model has a connection with the outdoors. It could be a large part of their life, so much so that this style of photography is able to convey it as being something that makes them who they are e.g. they might work in a garden or in the countryside. I like that the photographer has stuck to just one colour; green, with a variety of shades and tone exploring further formal elements. |
 |
| This is another favourite one of mine. I admire everything about this piece as I think it was constructed beautifully and makes the overall photograph a strong piece. The viewer is able to see a clear defined outline of the model against the white background, and the sunset photograph mingles perfectly with her outline. There isn't a boring part in this image because there are evident clouds, mountains and land, which are all peaceful areas/conditions. This compliments the subjects peaceful pose; she's simply resting her finger on her lip and starring gently out into the distance. She could perhaps be looking at the landscape that has been used to construct this picture; this would be a clever message because it would mean we are able to look at what she's looking at, whilst also looking at her. The soft autumnal colours were also a successful combination of tones, along with the formal element depth featured in the landscape picture. |
 |
| I rarely see a multiple exposure duo photograph, so spotting this one in the assortment I found online meant that it stood out. Their bodies fill a pleasant amount of the frame, as they are situated in the centre which means the white background is the perfect framing. You are able to faintly see the male and females eyes, noticing their intense gaze into one another's eyes. This is also complimented through the shape of their bodies - as it can be seen as them both forming a heart shape together when you look at both of their connected outlines. This shape representing love matches their loving stare, which was a clever decision chosen by the photographer. I also like that it is their skin and hair that mostly consists of the second image, rather than their clothing - allowing for the multiple exposure to be less intense and more so just the right amount. After seeing this one I am most certainly interested in using two or more people/things when creating a multiple exposure photograph in my project. |
 |
| It is evident in this piece that you don't need to use just faces or people to create multiple exposure photography. Hands are also a photogenic feature on the body to use. This piece is extremely interesting. It is almost like there is a dream happening in the palm of hands. This could have the connotation of God holding the control over someone's dream, which would also link to there being a heaven, which is what this picture looks like (a boy above the clouds in heaven). There are many connections in this piece between God, religious belief and dreams. It also being in black and white means that the dream could perhaps be a dark negative one. If the photo was bursting with colour it would immediately be portrayed as positive; therefore the formal element colour has once again been considered in this piece. |
 |
| In this slow sync photograph, the motion of the dress is clear and stands out in the right side of the frame. The formal element movement has been used perfectly in this picture as it flows from the blur to the remains of the girls dress. The green tones contrast effectively with the dark phthalo blue backdrop, which are fresh colours. The colour blue has also been used in this picture which has the connotation of peace, and ballet is an extremely peaceful sport to watch. From the position of the girls arms, and the costume she's wearing; the audience would assume she was a ballet dancer. Through the slow sync technique, a more beautiful photograph has been captured instead of having a picture of just the girl in her dress with no blurry glowing movements; composition was used extremely well and overall it is, in my eyes, a stunning piece of photography. |
 |
| I really like this slow sync photograph for many reasons. The slow sync technique has been used in order to show a visible process of movement. Four blurred images of the knife are coming down on the more clearer defined knife to show it's start to finish steps. The top knife is clearer than the middle three because the middle three represent the knife in motion, it isn't as still. Having this slow sync technique being used for the movements of the knife makes the slashing effect appear more aggressive. The saturation of the red apple has also been increased to make this fruit appear more vibrant, allowing it to contrast more effectively with the silver knife. Overall, this slow sync technique is inspiring for if I was to perhaps capture the process of "food preparation" in my project. |
 |
| This black and white photograph appears more simplistic; because there is no eye catching colours. Because of the pictures neutral appearance, it makes the slow sync effect appear as the most important feature. It is clear that someone has swiped an ace of spades card from the top left side of the frame down to the bottom right hand side, in order to have the motion of the cards movement look slick and stand out against the black backdrop. I like this picture because the card at a stand still looks as though it hasn't even been moved around in the frame, which shows that the slow sync technique was a successful one. The clear contrast in this piece is having the white card in front of a black backdrop in order to help it stand out. |
 |
| The moving motions of the star flyer in this picture appear extremely fast paced; which is evident in the lights that are in the form of lines. Lines are an important formal element in this photograph, because it shows the movement of this fun fairground attraction. They are also in the form of a pattern, which is again another formal element in photography. There are only two visible people sitting in the chairs of this ride, and one of them has their hanging legs in different positions which adds to the moving process of this picture. It is a very chaotic photograph, but also filled with positive energy, and has been composed well, but not great. There could have been a bigger frame to fit more of the subject in, rather than having just a few swings. |
 |
| This is my favourite slow sync photograph out of them all. The dancers have stuck to just the centre of the frame, which enables them to be the centre of attention in the picture. There is no blurred motions surrounding them; it's all happening in the middle. The camera was most likely set at a 4 or 5 second shutter speed so that the dancers could perform a decent chunk of dance routine within a time limit. If it was set at a 2 second shutter speed, only 2 seconds of their performance would have been captured. But with a higher shutter speed, they were able to perform a spin and a bow; along with holding the bow there to make this segment the most defined in the frame. The lady being dressed in red was an extremely clever decision, because this colour has the connotation of love and passion (which are things that dancing involves). Also, red contrasts beautifully with black, which is why her and her dance partner stand out so well against the background. |
 |
| The slow sync technique in this picture has been put on an extremely low shutter speed as there is only a small movement in the boy's skate boarding. The viewer is able to see an inch of his moving board by looking at the wheels. An intense blur surrounding the boy allows for the subject of this photograph to stand out. As there isn't much of the slow sync technique featured in this piece because of the slow shutter speed, the blur adds to the moving appearance that has a very large impact on this overall piece as without the blur their wouldn't be much evident movement in this picture. |


